
Mushroom Paprikash inspired by the novel “Dracula” by Bram Stoke.
The Inspiration Behind Mushroom Paprikash
“We left in pretty good time, and came after nightfall to Klausenburgh. Here I stopped for the night at the Hotel Royale. I had for dinner, or rather supper, a chicken done up some way with red pepper, which was very good but thirsty. (Mem., get recipe for Mina.) I asked the waiter, and he said it was called “paprika hendl,” and that, as it was a national dish, I should be able to get it anywhere along the Carpathians.”
Amongst the several food and drink references in Bram Stoker’s horror masterpiece, I have been particularly fascinated with the idea of Paprika Hendl ever since coming across it while reading “Dracula” over a decade or so ago.
Believed to be what is known as Chicken Paprikash in current times, the vegetarian take on this Hungarian classic, Mushroom Paprikash, has been one of the 768 or so recipes that I keep telling myself I need to try but never get around to making.
With the Lahori weather turning cool, gray and decidedly Transylvanian, and today being a special day for the massive horror fan that I am, it was finally time to make this comforting classic.
What Is Mushroom Paprikash And How Exactly Is It Made
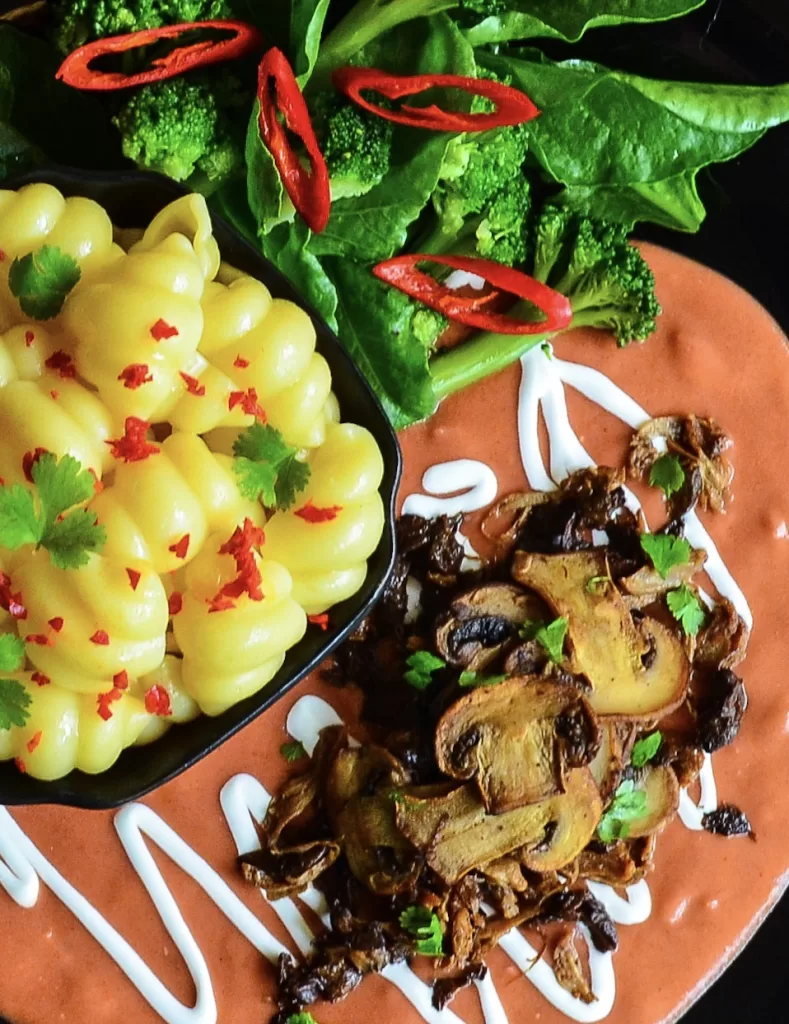
Simple yet rich, this creamy stew gets its velvety texture from heavy cream (easy hack to make sour cream in the instructions/method: no premixing required!) and packs a punch with heady smoked paprika and hot red chilli powder.
This may not seem like a lot of crisp fried button mushrooms but they are sitting atop a bed of shredded & equally crisp fried chanterelles and oyster mushrooms, all of which together, are a textural and flavour umami bomb.
Please read the note at the end of the recipe for details on the fresh mushrooms I used in this recipe and what you can substitute them with.

Traditionally eaten with homemade egg noodle dumplings (galuska/nokedli/spätzle), I enjoyed this with a side of gnocchi-shaped pasta and a simple side of steamed broccoli and fresh baby spinach spiked with a fresh red chilli to balance the richness of this hearty dish.
For a cult-classic horror novel, there are plenty of food and drink mentions (magmila, impletata and slivovitz to name a few); rather strangely chilling if you think about it, since a vampire’s sole diet consists purely of blood and nothing else.
Perhaps I will create my versions of all of the food in the book together one day, as a feast in the infamous Count’s honour 😈.
On that note, here’s wishing a Spooky Halloween 🎃 to fans of the celebration!
Mushroom Paprikash
Simple yet rich, this creamy Mushroom Paprikash packs a punch with heady smoked paprika and hot red chilli powder. Topped with a selection of umami-rich crisp fried mushrooms for a deeply satisfying flavour.
Recipe Type: Main
Author: Alice In Eatland
Cook Time: 15-20 Minutes
Total Time: 30 Minutes
Serves: 2
INGREDIENTS
- 4 tablespoons oil
- 2 cups mixed fresh mushrooms*
- 1/2 cup finely chopped onion
- 1 tablespoon finely chopped garlic
- 1 tablespoon tomato paste
- 1 tablespoon flour
- 2 cups vegetable stock
- Salt
- 1/2 teaspoon red chilli powder or paprika
- 1/2 teaspoon garlic powder
- 1/2 teaspoon onion powder
- 1/2 teaspoon smoked paprika (if available)
- 2-4 tablespoons heavy cream
- 1 tablespoon fresh lemon juice
- 1-2 tablespoons cream/sour cream, to drizzle
- Chopped fresh parsley
- Boiled and buttered pasta, to serve
- Steamed broccoli, to serve
- Fresh baby spinach, to serve
- Fresh red chilli, deseeded, to serve
METHOD
- Sauté whole or sliced mushrooms in a flat-based pan over high heat in batches, until crisp and browned. Cool completely in a metal sieve.
- Heat the remaining oil in the same pan and sauté onions and garlic until soft and fragrant.
- Add the tomato paste and cook till it darkens slightly.
- Sprinkle flour and cook the mixture 2-4 minutes or until the flour no longer smells raw.
- Remove pan from heat and whisk in the vegetable stock till the mixture is lump-free.
- Place pan back on the heat, season with salt, red chilli powder or paprika, smoked paprika (if using), garlic powder, onion powder and bring to the boil, whisking constantly.
- Cook 5 minutes until bubbly, keep whisking frequently.
- Turn the heat off and quickly whisk in 2-4 tablespoons heavy cream and lemon juice.
- Check seasoning, add more salt or lemon juice if needed and grind in fresh black pepper.
- Pour into serving dish/bowl/plate.
- Drizzle with heavy cream or sour cream, if wished.
- Top with fried mushroom mix and sprinkle chopped fresh parsley.
- Serve with boiled and buttered pasta of your choice and a side of steamed broccoli, fresh baby spinach and deseeded red chilli.
NOTE:
*I used a combination of sliced button mushrooms and shredded chanterelles and oyster mushrooms in this recipe.
Though fresh mushrooms taste best in this particular dish, you can absolutely use canned mushrooms instead.
This recipe, like most of my other recipes, is more of a guide rather than a strict set of rules to be fanatically adhered to, so please feel free to make substitutions and alterations to suit your preferences and budget.

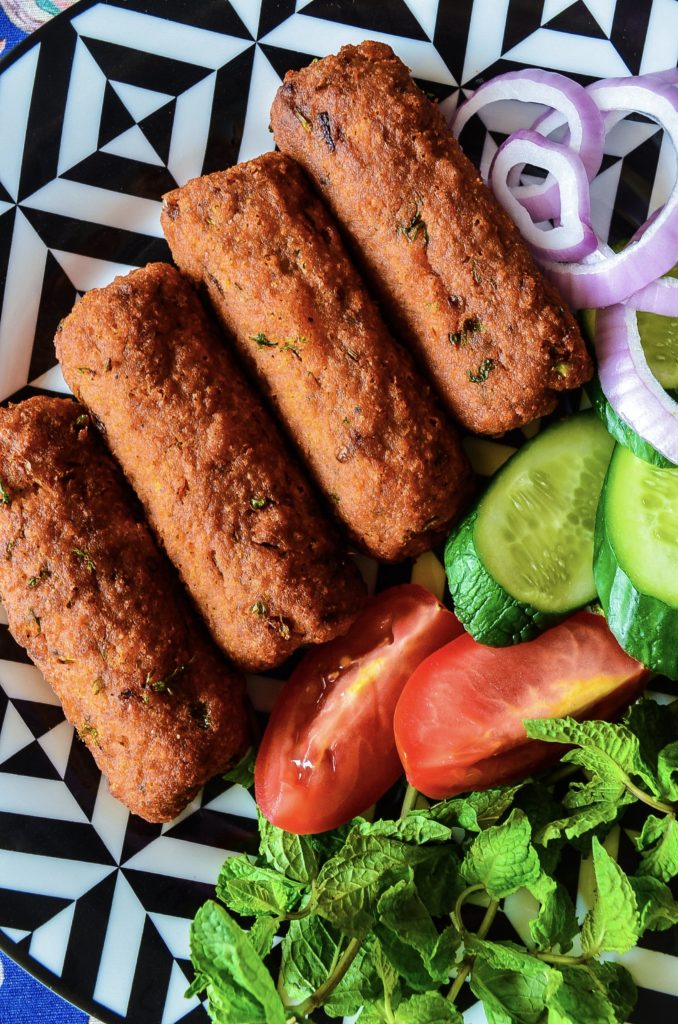
 Tamatar Paneer, a vibrantly spiced Hyderabadi-style tomato curry with “crisp-on-the-outside-creamy-on-the-inside” grilled homemade paneer wedges.


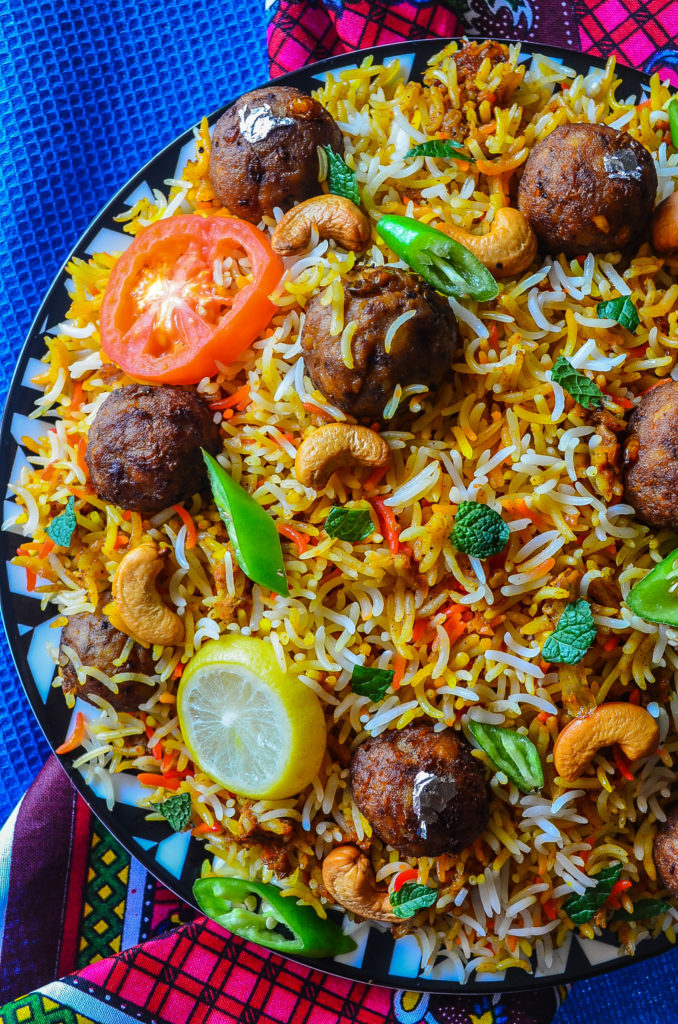
 Tikka Kofta Biryani: juicy barbecue-smoked tikka flavoured plant-based koftay on a bed of fluffy fragrant masala rice, the stuff of biryani dreams!