
Ladies and gentlemen, please say hello to my new favourite side dish that I’ve been enjoying a lot lately with a number of desi main dishes.
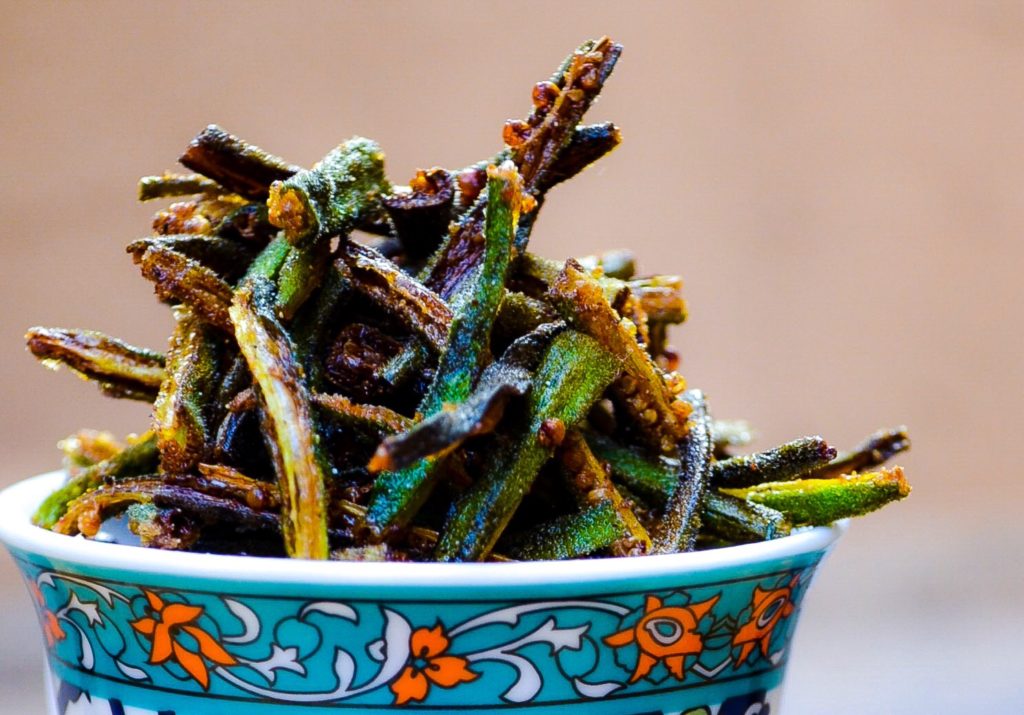
Kurkuri Masala Bhindi is a new discovery for me and an absolutely delicious one into the bargain. Crispy, spicy and ever so slightly tangy – yum!
Okra has always featured fairly frequently on the everyday home cooked meals roster at my home.
However, it has almost always been prepared as a stir fried dryish sort of curry – the usual Pakistani way of making bhindi ki sabzi.

I had heard of folks making fried bhindi but since I’d never had it, I had no idea what I was missing out on.
The first time that fried okra really caught my attention was when I watched legendary Pakistani food expert Mrs Zubaida Tariq make what she called “Crispy Bhindi” on a show on Masala TV a year or so ago maybe.

I loved how crunchy the deep fried okra slices looked and the fact that Mrs Tariq mixed in roasted slivered almonds into the fried okra just before serving made things seem even more enticing.
So here is my take on this fried okra phenomenon, inspired by a recipe titled “Crunchy Okra” in this recipe book called ‘Vegetarian Fiesta’ which is said to be complied by Indian Master Chefs.

I find that Kurkuri Masala Bhindi goes very well as a side dish with desi main dishes such as daal chaawal and karrhi chaawal.
I also find it very hard to keep myself from finishing Kurkuri Masala Bhindi before it makes its way from the kitchen to the dining table.
If you have a fondness for delicious deep fried foods, you will find this Kurkuri Masala Bhindi a delightful treat.

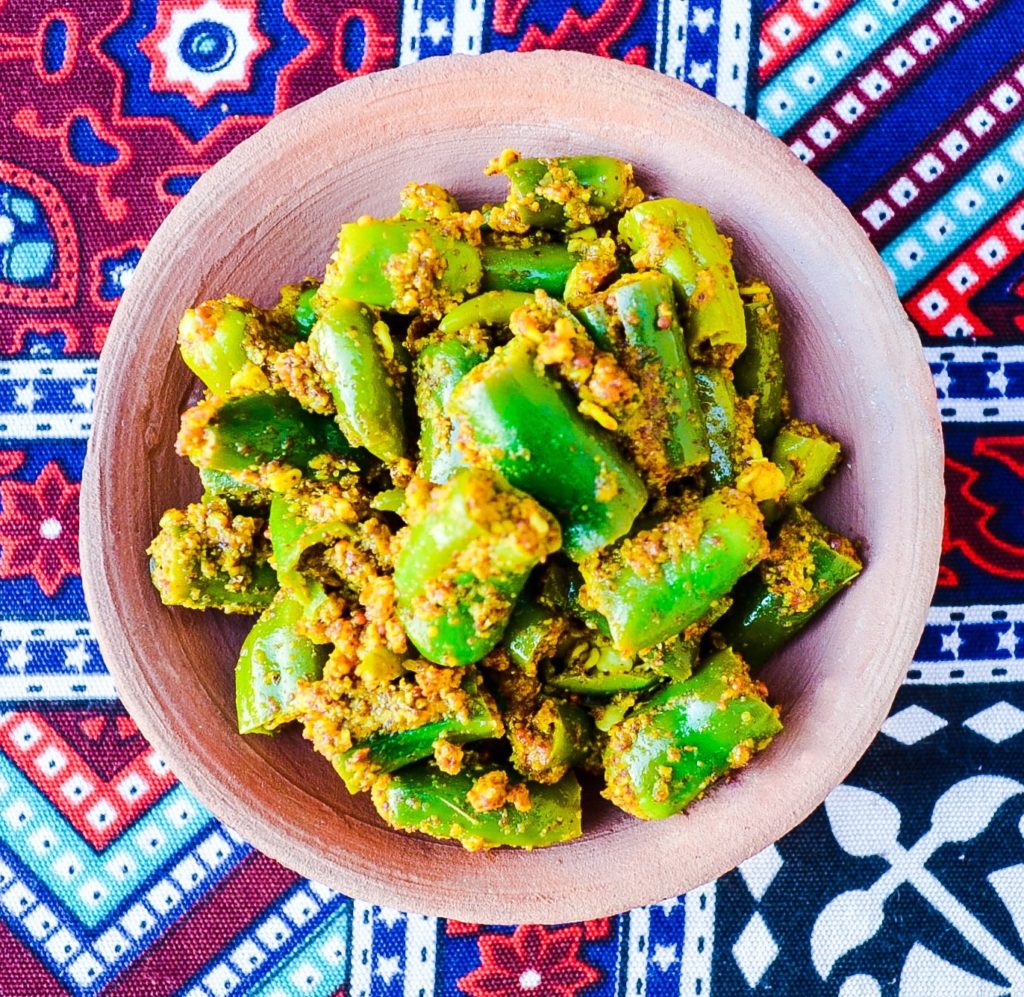
Kurkuri Masala Bhindi
Recipe Type: Starter & Side Author: Alice In Eatland
Prep Time: 10 Minutes Cook Time: 5 Minutes Total Time: 15 Minutes
Serves: 2 – 4
Crispy, spicy shards of deep fried okra! Kurkuri Masala Bhindi is an excellent desi side dish and equally wonderful as a crunchy snack on its own!
INGREDIENTS
- 250 grams – 300 grams okra
- Salt
- 1/4 teaspoon red chilli powder
- 1/4 teaspoon Kashmiri red chilli powder
- 1/2 teaspoon chaat masala
- 1/2 teaspoon garam masala
- 1/2 teaspoon aamchoor (optional)
- 1 tablespoon gram flour
- Oil for deep frying
METHOD
- Wash the okra and dry thoroughly between sheets of kitchen paper.
- When completely dry, top and tail the okra.
- Slice each okra lengthwise into four pieces so that you have long shards of cut okra. Place okra slices on a flat plate or tray.
- Combine salt, red chilli powder, Kashmiri red chilli powder, chaat masala, garam masala and aamchoor, if using.
- Sprinkle this spice mix all over the okra slices and mix gently but thoroughly with your fingers until combined. Set aside.
- Over a medium highish flame, heat enough oil for deep frying in a pan.
- When the oil is fairly hot, sprinkle the gram flour over the okra. Mix gently by hand and then add the okra carefully into the hot oil.
- Make sure you do not overcrowd or overfill the pan – fry okra in batches if your pan isn’t big enough.
- If your oil is the right temperature, the surface will start bubbling with small bubbles as soon as the okra is added and then after a couple of seconds, the okra will rise up to the surface of the oil.
- Separate the frying okra lightly with a fork to keep from sticking together. When it looks golden brown and feels crisp, remove, preferably with a metal spider skimmer, onto plates lined with kitchen paper. I usually remove the bhindi from the oil directly into a wiry metal colander to minimise surface contact – this ensures that the fried bhindi does not become soggy and remains crisp.
- Serve Kurkuri Masala Bhindi hot or at room temperature.
- This makes an excellent side dish for both vegetarian and meaty mains. Very good on its own as a crunchy snack to munch on.


 If eggs and toast are the ideal components of an enjoyable breakfast for you, then Cheesy Masala French Toast will become one of your favourite ways to partake of the most important meal of the day.